Applying for loans online has become a norm these days. It’s convenient, fast, and can save you from long queues at banks. But did you know one of the biggest reasons loan applications get delayed or rejected is because of poor-quality photos? Yes, those photos you upload of your ID, your face, or your documents matter a lot! So how do you take a proper photo for online loan applications that gets approved quickly?
Photo Requirements for Online Loans
Before you start snapping pics for your online loan application, it’s crucial to understand exactly what lenders in the United States typically expect. Loan companies use these photos to verify your identity and ensure that the documents you provide are legitimate and clearly visible. Because of the importance of these images, poor photo quality can lead to delays, rejections, or additional requests, slowing down the approval process significantly. Knowing the photo requirements upfront helps you avoid frustration and speeds things up.
Generally, lenders require images that are clear, legible, and unaltered. This means no blurry pictures, no shadows covering important details, and no filters or effects that could make the photo look unnatural. The background should be simple and distraction-free, often plain white or a light neutral color. Lenders also have specific preferences for file formats and sizes, commonly accepting JPG or PNG files within a reasonable size limit, usually under 5MB, to ensure easy uploading and processing.
Common Photo Specifications
- Clear, focused images with no blurriness or pixelation are a must for easy verification. Blurry photos make it difficult for the system or personnel to confirm your identity.
- Good lighting is essential; photos should be evenly lit without shadows or reflections that obscure important details like text or your face.
- A neutral background such as plain white or light gray helps ensure the subject (you or your documents) stands out clearly.
- Avoid using any filters, color alterations, or edits that could obscure the true appearance of your face or the details on your documents.
- File formats like JPG and PNG are preferred, with typical file size limits around 5MB or less, to meet most lenders’ upload requirements.
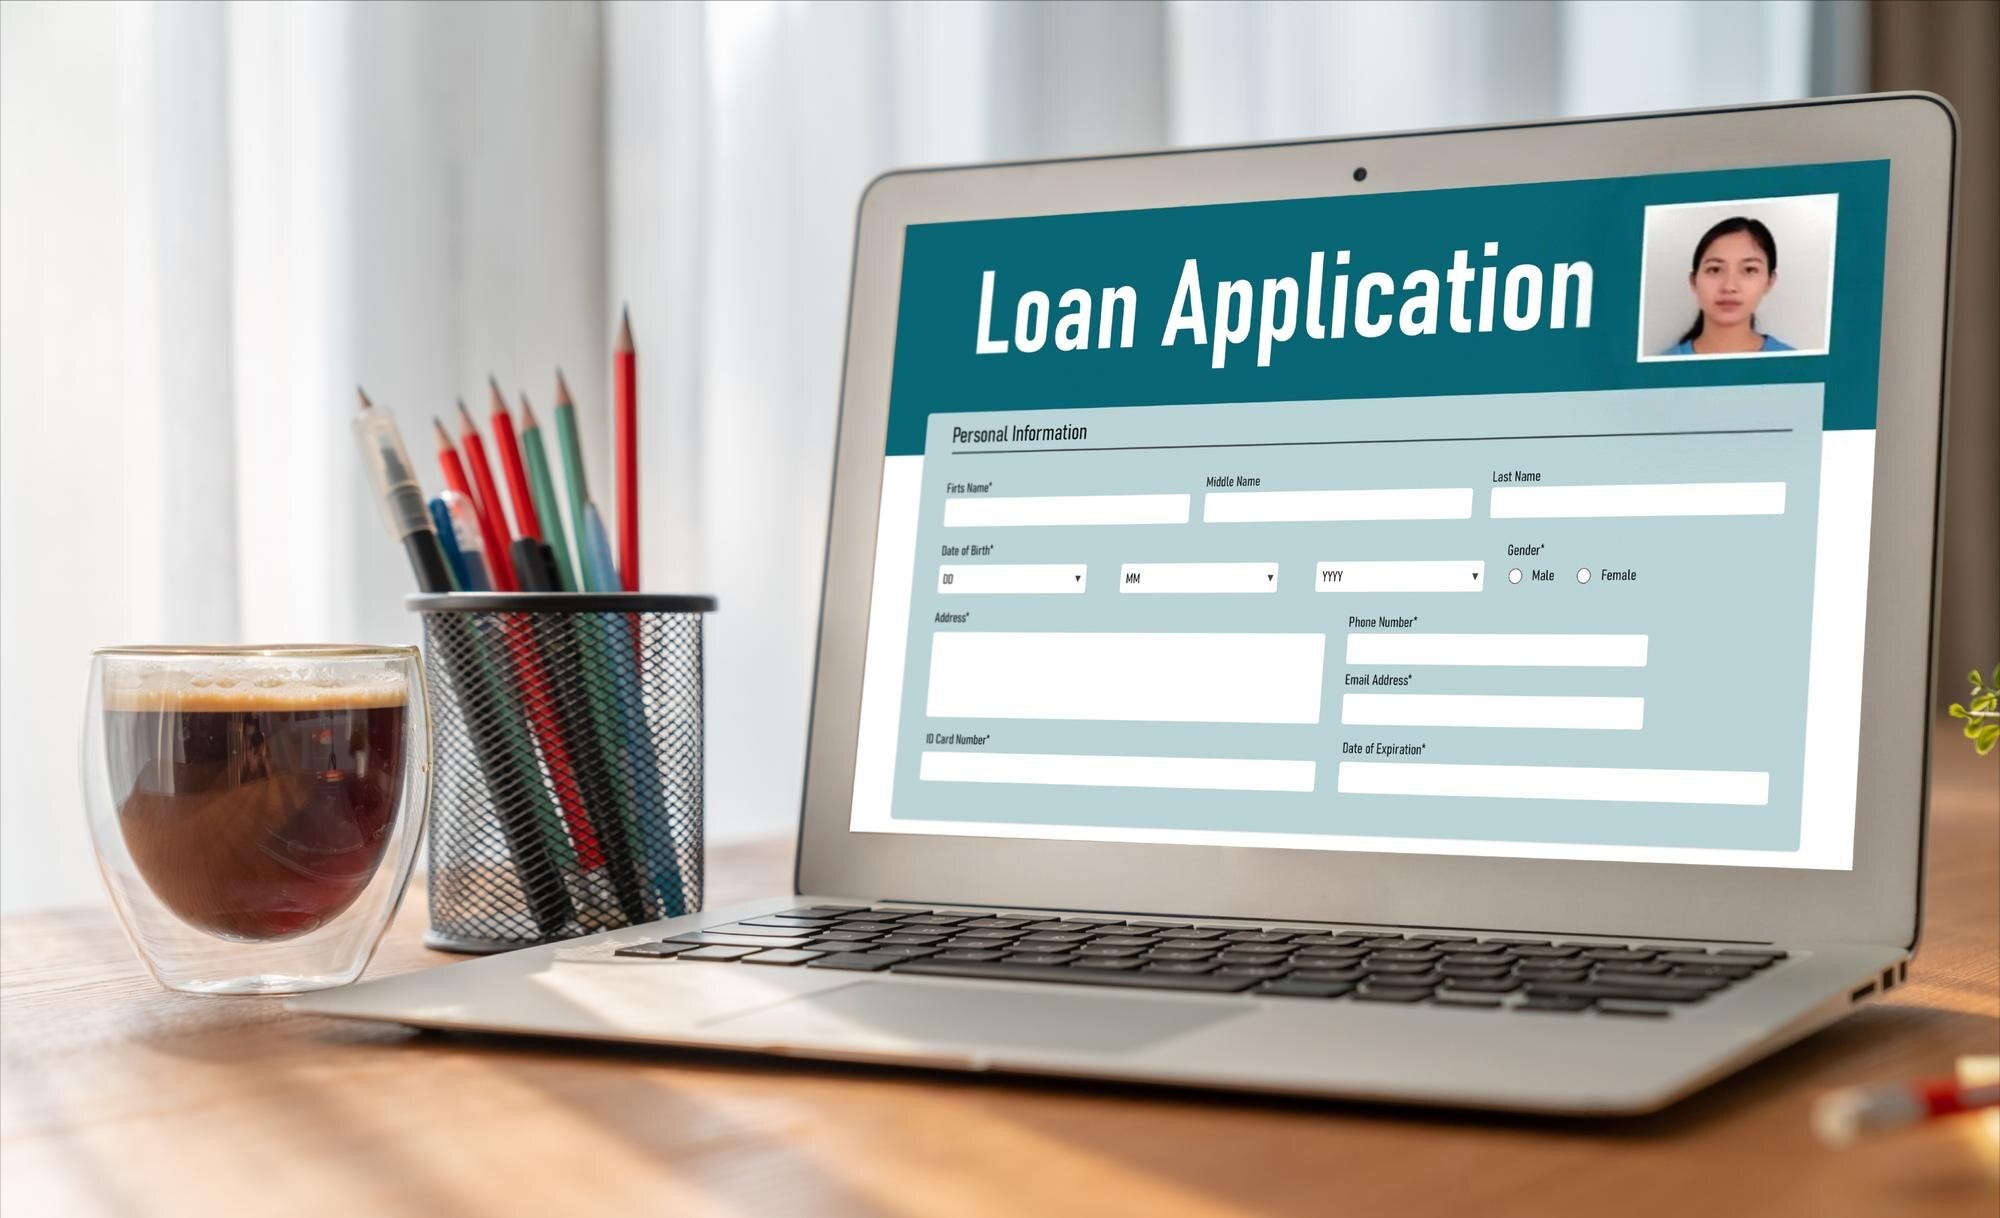
Photo Types You’ll Need
When applying for an online loan in the U.S., you’ll typically need to upload several kinds of photos:
- ID Photos: This includes pictures of government-issued IDs like your driver’s license, passport, or state ID card. These images prove your identity and residency and must be clear enough for the lender to read all information and see your photo.
- Selfie Photos: Many lenders use facial recognition or biometric verification technology, so you will be asked to take a selfie that matches your ID photo. This confirms the person submitting the application is indeed you.
- Document Photos: These could be pay stubs, bank statements, utility bills, or other financial documents required to prove your income, residence, or creditworthiness. These documents must be fully visible and easy to read, without glare or cropping.
Preparing to Take the Photo
Proper preparation is key to getting photos right the first time, which helps prevent delays or repeated submissions. Before you start taking pictures, gather all the necessary documents and set up your space thoughtfully. Make sure your IDs and documents are clean and not damaged, as torn or smudged documents can be rejected. Also, clear your workspace of any clutter that might accidentally show up in the background.
Once you have everything ready, think about the best place to take your photos. You want a spot with plenty of natural light if possible, or a well-lit room with consistent lighting that won’t cause unwanted shadows or reflections. It’s also important to consider what device you’ll use — smartphones today are very capable but using the rear camera usually yields better quality. Having everything prepared beforehand reduces stress and helps you take professional-looking photos that lenders will accept without issues.
Lighting Setup
Lighting is arguably the most critical factor for a good photo. The best option is natural daylight, ideally by a window, which provides soft, even lighting that makes images clear and natural-looking. If natural light isn’t available, use soft white lamps or LED lights positioned to avoid casting harsh shadows or glare. Avoid overhead lighting that creates dark shadows on your face or reflective surfaces.
Good lighting ensures that details on your ID or documents are visible and your face is well illuminated without overexposure. It helps eliminate annoying issues like glare, which can make text unreadable, or shadows that obscure key features. Remember, no lender wants to receive a photo that requires them to guess what they’re looking at!
Background and Setting
Choose a clean and simple background for your photos. A plain white or light-colored wall works best because it doesn’t distract from the main subject of the photo—whether it’s your face, ID, or documents. Avoid backgrounds with patterns, posters, or any clutter, as these can confuse automated systems or slow down human reviewers.
If you’re photographing documents, place them on a flat surface like a table or desk free from clutter. Ensure nothing else appears in the frame except what needs to be captured. The goal is to make the photo look professional and focused solely on the required items, making it easier for lenders to process.
Camera and Device Tips
Smartphones nowadays have excellent cameras that are perfectly suited for taking loan application photos. Whenever possible, use the rear camera instead of the front-facing selfie camera, as it generally offers higher resolution and better image quality. Clean your camera lens beforehand to avoid smudges or spots that can blur the image.
Make sure your phone or camera settings are optimized for high resolution. Most devices have default photo settings, but double-check that you’re not using any filters or beauty modes that alter your appearance. Also, hold your device steady or use a tripod/selfie stick to avoid shaking, which causes blurry photos. A well-focused, crisp photo always beats a quick, shaky snap.
Taking the Photo Step-by-Step
Taking the right photo for your online loan application might seem simple, but small details matter a lot. Each type of photo — whether it’s your ID, a selfie, or financial documents — has its own set of best practices to ensure clarity and acceptance. Below is a detailed guide on how to handle each photo type, followed by a table summarizing the key tips.
ID Photos
When photographing your ID — such as your driver’s license, passport, or state ID — make sure to hold it steady and flat. The entire card should be visible in the frame, including all four corners. You want the text to be sharp and legible, which means avoiding any blur. To prevent glare from overhead or side lighting, try slightly angling the ID; this reduces reflections on the plastic or laminate surface without cutting off important parts. Take the photo in a well-lit area to maximize clarity.
Another tip is to avoid holding the ID too close to your fingers, as they can cover vital information. Keep your hands steady, or better yet, place the ID on a flat surface for stability. Check the photo immediately to ensure no details are obscured or washed out. Many loan platforms require clear images of your ID for identity verification, so investing this little extra care pays off by speeding up your approval process.
Selfie Photos
For selfies used in biometric verification, positioning is everything. Center your face in the frame and look directly into the camera lens to ensure your features are easily recognizable. Keep a neutral facial expression, meaning no exaggerated smiles, sunglasses, hats, or anything that obscures your face. Also, keep your hair pulled back or away from your eyes to avoid shadows or hiding key facial landmarks. Make sure your head is straight and not tilted to avoid issues with facial matching algorithms.
Good lighting is also critical for selfies. Natural light or bright indoor lighting works best to reveal your true complexion and facial details. Avoid harsh shadows or backlighting that darkens your face. If you follow these tips, your selfie will match your ID perfectly, increasing the lender’s confidence in your identity.
Document Photos
Photographing financial documents like pay stubs, bank statements, or utility bills requires a steady hand and good lighting to ensure all text is readable. Place the document flat on a clean surface to avoid distortion. Use even lighting to prevent shadows or glare from covering numbers or important information. Hold your camera or phone directly above the document, keeping it parallel to the page to avoid warping or skewed angles.
Make sure the entire document fits within the frame — avoid cropping out the edges or any sections of text. Zoom in only if necessary, but do not crop out vital parts. Clear and complete document photos help lenders verify your financial standing quickly and accurately.
| Photo Type | Key Tips | Lighting & Background | Common Errors to Avoid |
| ID Photos | Hold ID flat, show all corners, avoid glare | Use natural or soft light, neutral background | Blurry, glare, fingers covering info |
| Selfie Photos | Center face, neutral expression, no accessories | Bright even light, plain background | Tilted head, shadows, sunglasses |
| Document Photos | Flat on surface, hold camera parallel to page | Even lighting, avoid shadows | Cropped edges, glare, skewed angles |
Common Mistakes to Avoid
One of the most frequent issues applicants face is blurry photos. This usually happens when the camera shakes, or the lighting is too dim for the phone or camera to focus properly. Taking a photo in low light or without a stable grip can result in fuzzy images that lenders reject because they cannot clearly read your ID or documents. Always use bright, consistent lighting and steady your hand, or use a tripod or stand if possible.
Shadows hiding critical parts of your ID or documents are another problem. Shadows can fall from your hand, phone, or even your head in selfies. This makes parts of the image unreadable and raises red flags with loan processors. Also, cropping photos incorrectly is a common mistake. If the edges of your ID or document are cut off, it can lead to your application being delayed or rejected. Lastly, applying filters or any photo edits that change your natural appearance or the document’s content is a big no-no. Lenders require authentic, unaltered images to verify your identity and documents accurately.
Editing and Reviewing Your Photo
It’s perfectly fine to do light editing on your photos before submitting, such as cropping to remove excess background or adjusting the brightness slightly to improve clarity. However, never add filters, color changes, or beauty enhancements, as these can obscure details and cause your photos to be rejected. The goal is to provide the lender with a truthful representation of your face and documents.
Before you upload, carefully review your photo on your device. Zoom in to check that all text is legible and your face is clear. If the photo looks sharp and accurate on your screen, it should be acceptable for the lender. Taking a moment to double-check can save you from the hassle of re-submissions.
Submitting the Photo
Once your photos meet all the requirements, ensure the file format and size are compatible with the lender’s platform. Most lenders prefer JPG or PNG files, usually under 5MB. Larger files can be difficult to upload and may be rejected automatically. Follow the instructions on the loan application site closely for file type, naming conventions, and upload methods.
Use the secure upload feature on the loan website or app, never sending photos via email or unprotected channels. A smooth, proper submission process helps speed up your loan approval, while mistakes here can cause unnecessary delays.